Oh wow.. I feel like the months of October AND November flew by at warp speed and that is only slightly overwhelming! SO many things have happened in the past few weeks... mainly 303 is over and now I am moving forward with my ideas for ArtLab and various new explorations of the existing series of drawings. For starters, a few weeks ago I started scanning in my drawings to save and edit them for printing optimization. Photoshop now has 3D printing and modeling capabilities! Soo.. I kind of lost focus in my graphics class and started playing with that instead. The first step was to import the drawing and select the drawing from the background.

You have to select your primary figure and create a NEW LAYER in a NEW DOCUMENT. This will remove excess information from your outline/shapes and make it easier for your computer to process the model mesh. I learned very quickly that deleting the background and using the default checker background instead of white as a background color was the best route to take.

Photoshop has several different texture filters and options for surface treatments. This particular effect was a displacement of values determined by the brightnesses found in the selection. The darker the 'shading', the higher the elevation or height of the model from the base. Unfortunately, my school computer decided to up and quit all my applications before I could save the model - an occupational hazard. In addition to that I had to prep for projects in class and for 303... which I will get to in a different post or this one will be several DAYS long.
 |
| editing the model in Makerbot software |
 |
| this selection took much longer because of all the details and the differently colored background |
 |
| this model took about 1 hour to create/edit |
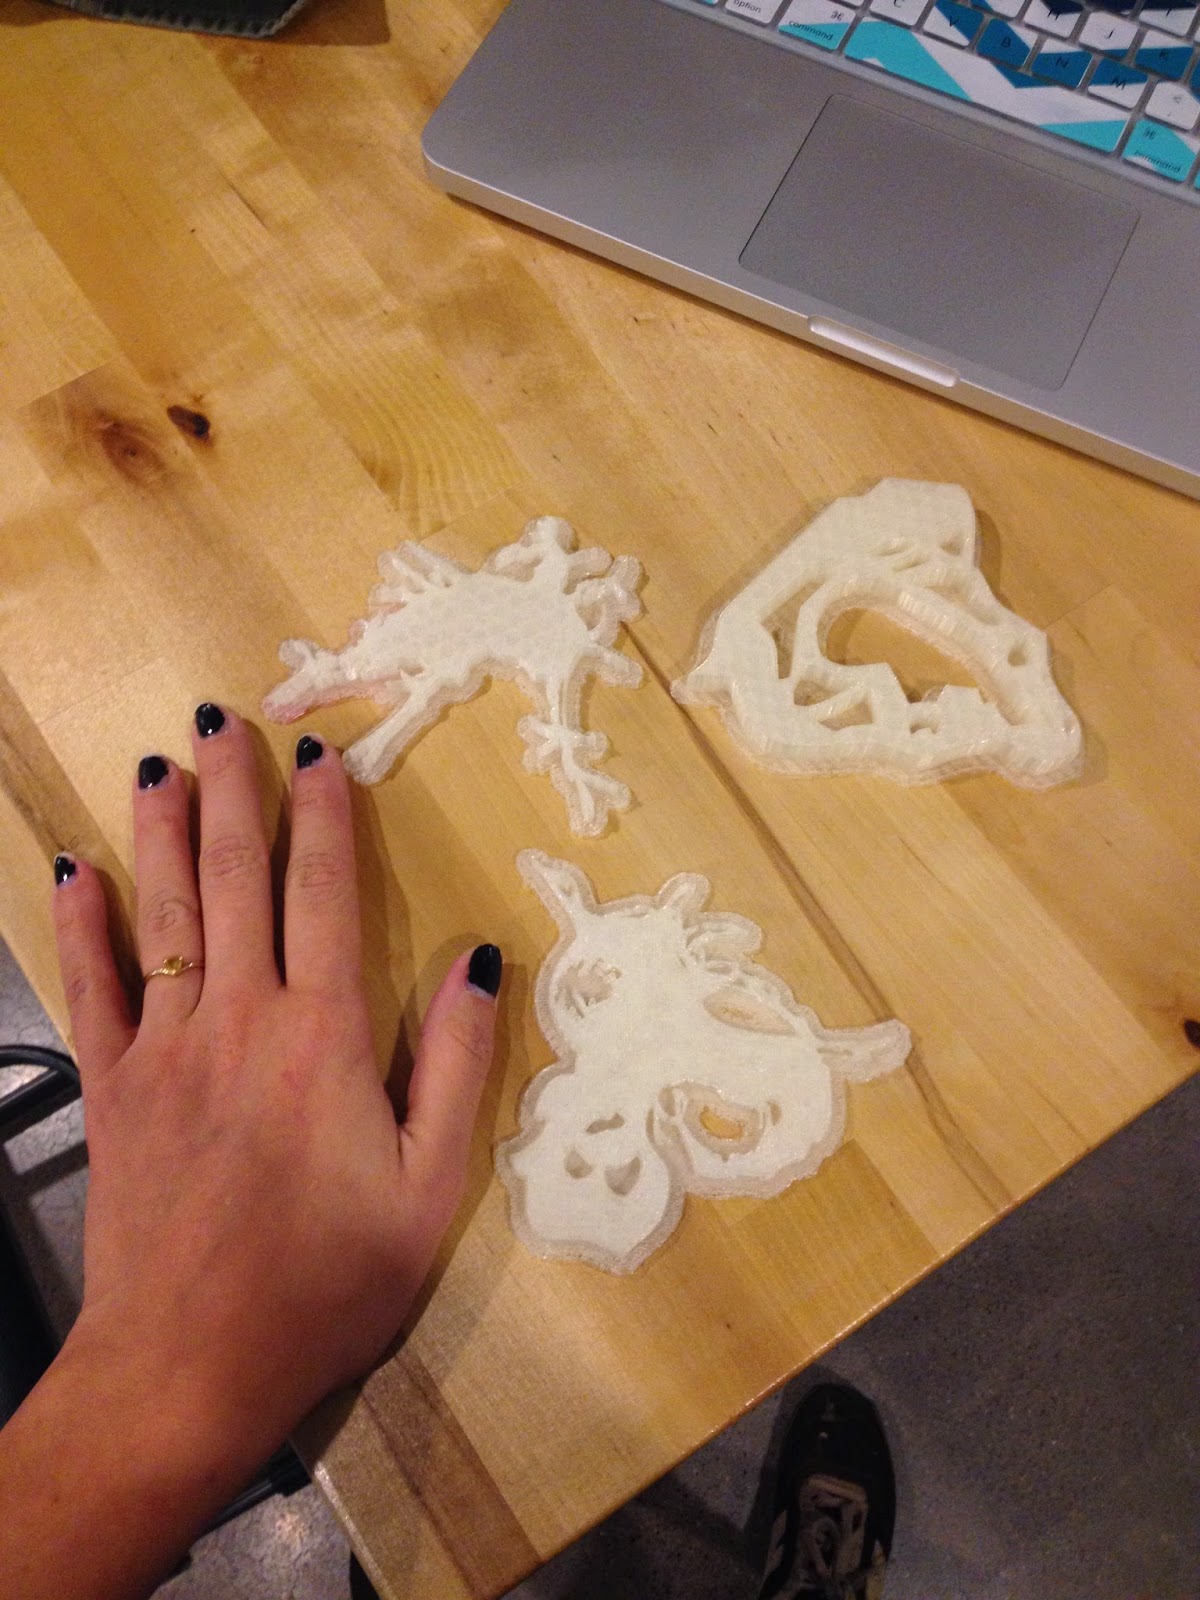
Each model took about 1 and a half hours to print and I had NO errors - a veritable miracle with such complex models! I was very pleased with the results and the details captured in the prints. I have not tried to remove the final prints from the rafts.. call it cowardice, but I do not want to ruin all that hard work! I took lots of in-progress shots to show the complexity of the models - I am still in shock at how much detail was captured by the printer itself!


 |
| before the final layers were printed... |

On that note.. I need to get back to work on class projects. I have photographs to take, web designs to put together. The list goes on and on. However! In my neverending efforts to catch up with my own life, the next two blog posts will be a response to 303 and finally some reflections on the Michigan Art Education Association Conference in Lansing!
That means I am only two weeks behind... hopefully before the first of next year I will be on track, eh?
Happy almost-another-holiday-break! Hang in there.
Ms. Kanak